


So, you're wondering how to properly reproof a waterproof jacket? Even some of the best waterproof jackets need reproofed every now and then in order to stay waterproof. The reason for this is that most waterproof jackets have a DWR (Durable Water Repellent) coating, which is required in addition to the membrane of a coat in order to prevent precipitation from saturating the outer shell of a waterproof jacket. Depending on how often you use your waterproof jacket, this might need to be done as often as every four months, or as infrequently as once a year.

We should note here that, as technology advances, environmentally-friendly jackets are being developed by top outdoor brands which don’t actually require reproofing. Hopefully, this is the direction the industry and outdoor enthusiasts will move to in the future, as DWR isn’t biodegradable, and persists in the environment with notable negative effects on ecosystems.
The process of reproofing a waterproof jacket is very simple. There are two options:
- A wash-in waterproofing treatment
- A spray-on waterproofing treatment
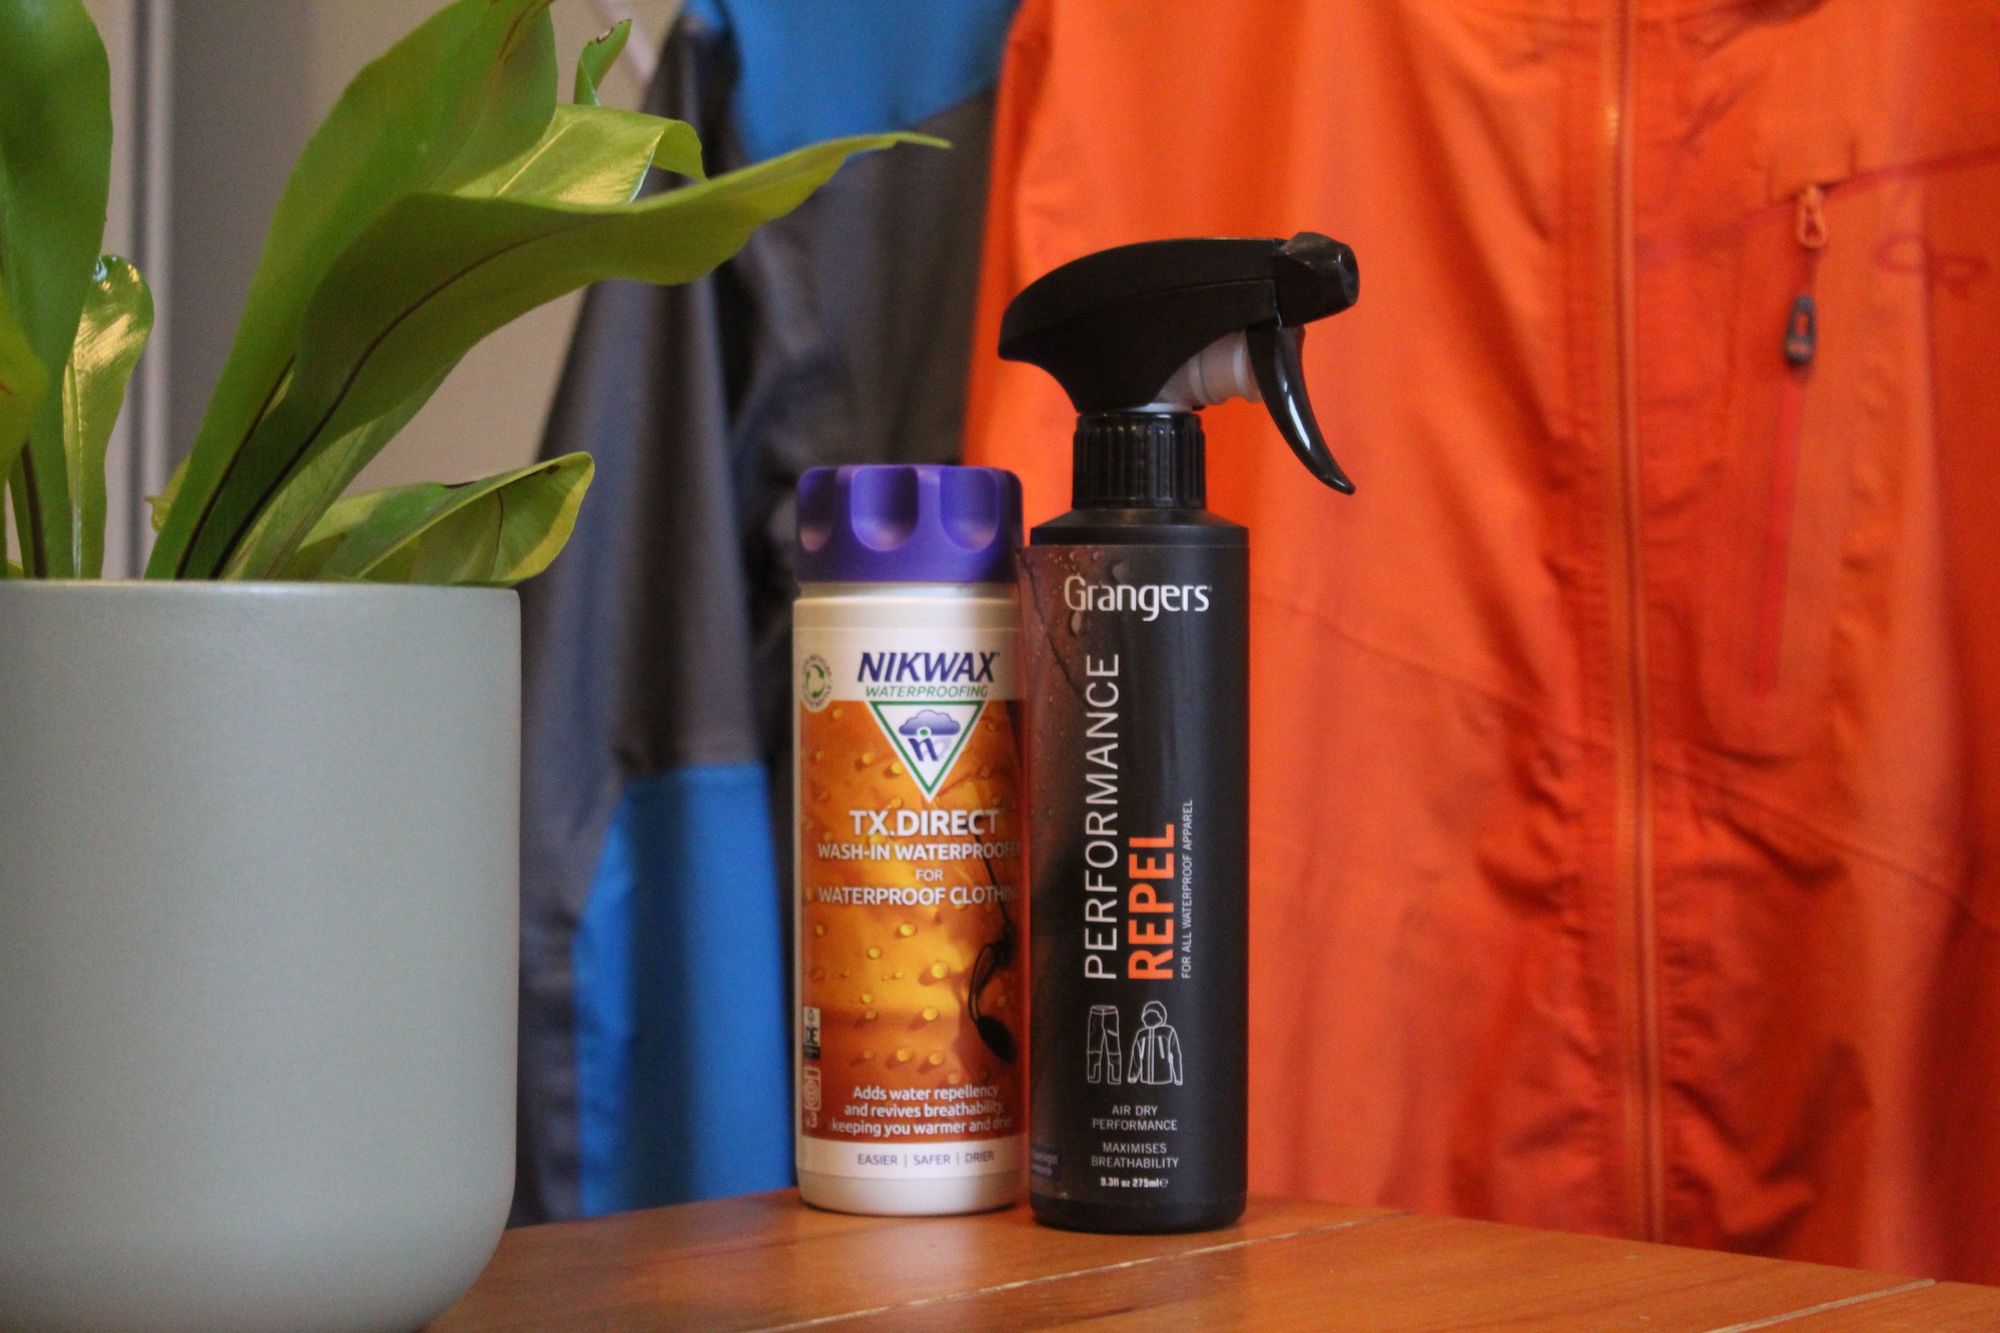
The most popular brands for such products are Nikwax and Grangers, and you'll usually find both in any outdoors store, but other options are available.
Here, we’re going to give you a step by step guide to both of those methods of re-proofing. For best results, you should reproof garments separately in a warm wash. It’s worth noting that you can also get products that both clean and reproof a coat at the same time, but here, our focus is going to be purely on providing a simple step by step guide to reproofing waterproof jackets.
How to Reproof a Waterproof Jacket in the Washing Machine: in 5 steps

Here’s our five-step guide to reproofing your waterproof jacket using wash-in waterproofing treatment. It’s an incredibly simple process, which basically just involved sticking on a wash, but using the wash-in waterproofing treatment in question instead of washing detergent.
1. Make sure the waterproof jacket is clean
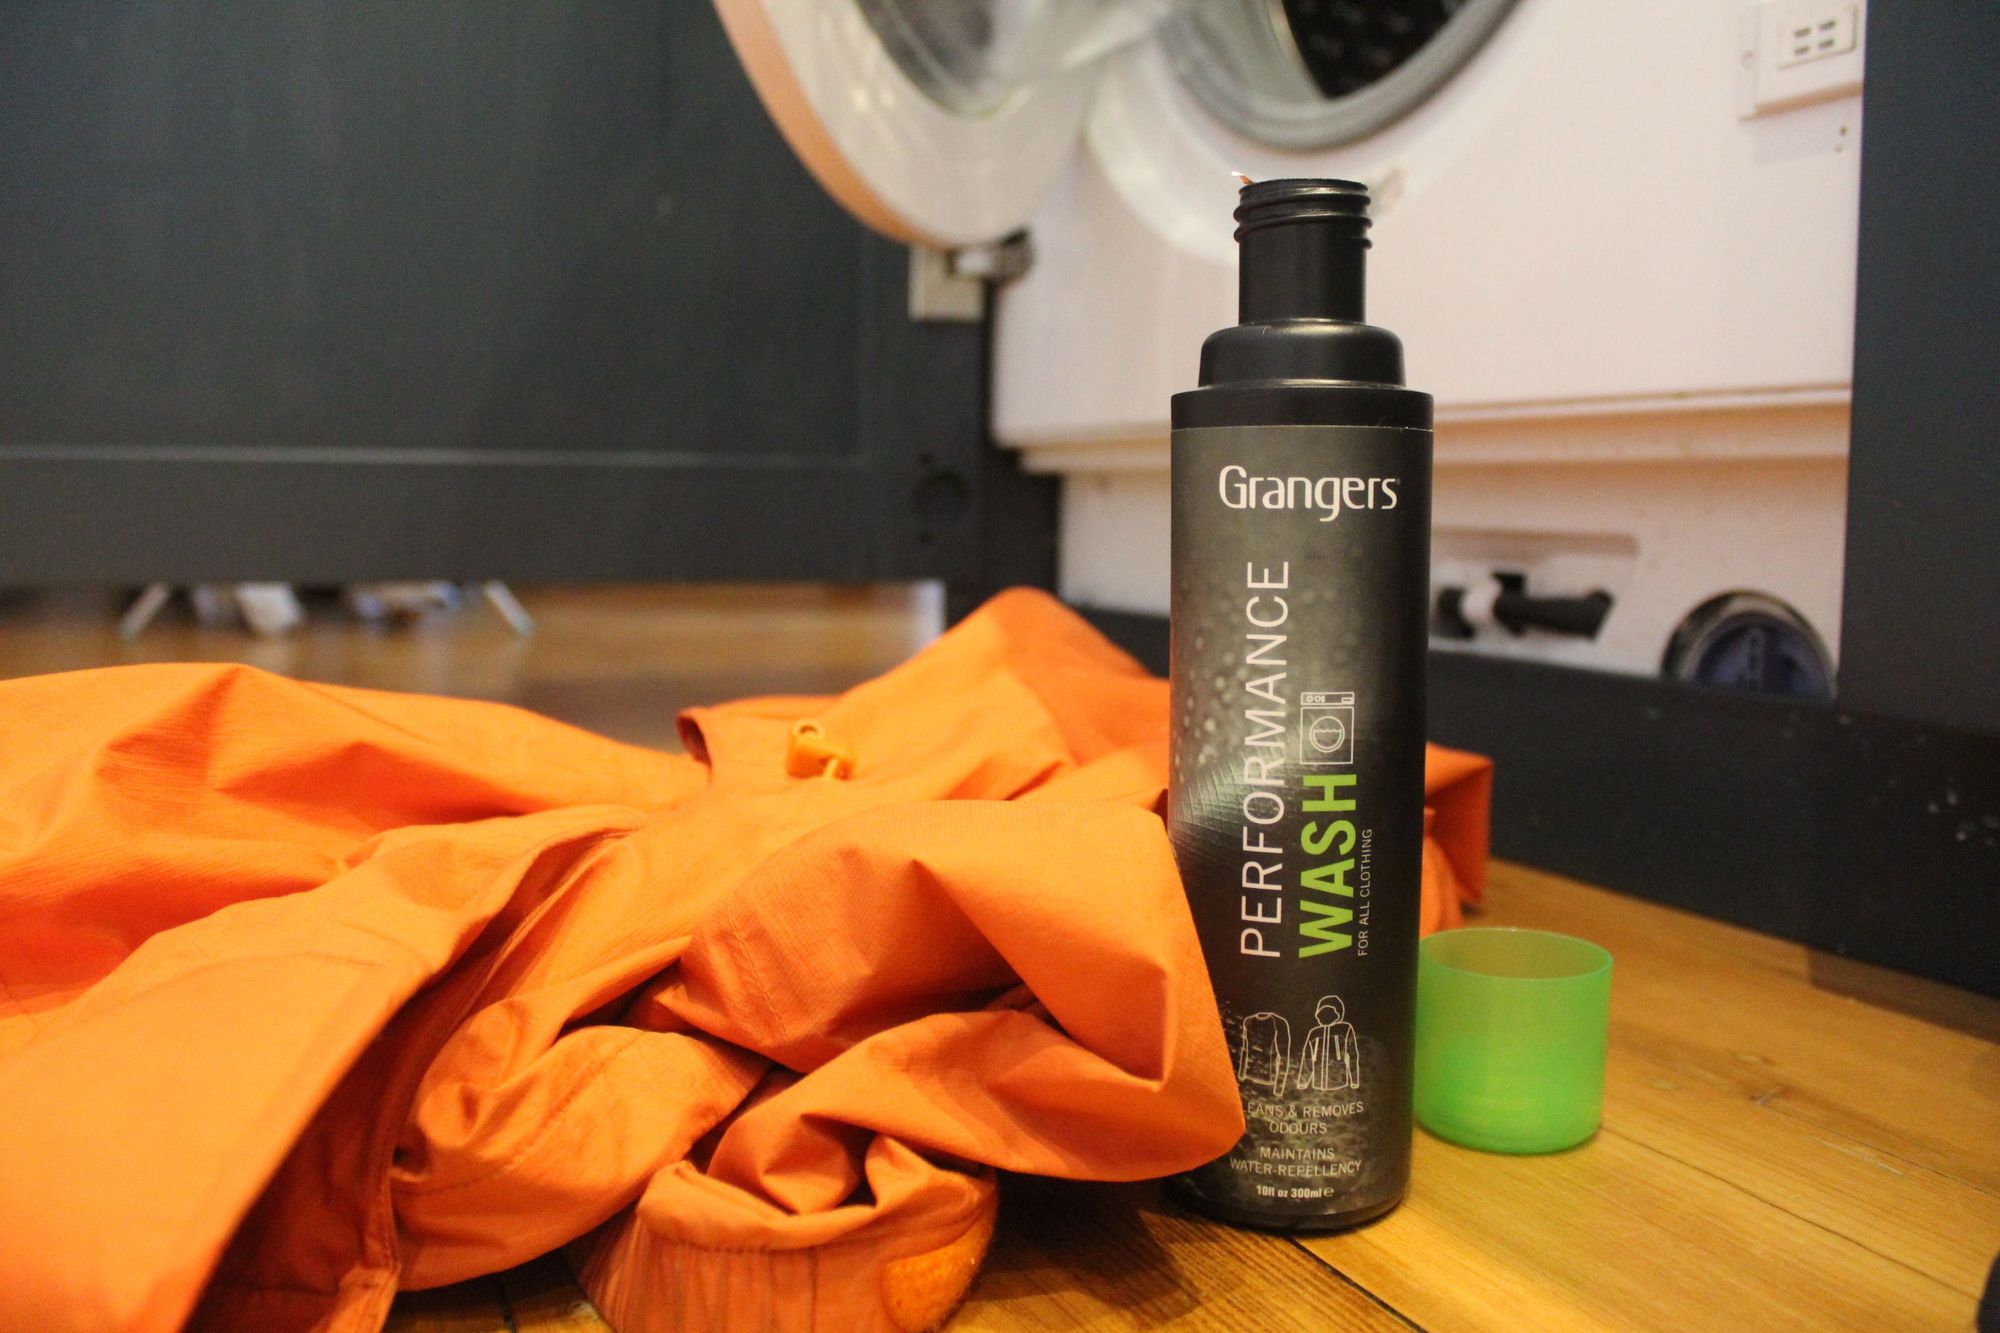
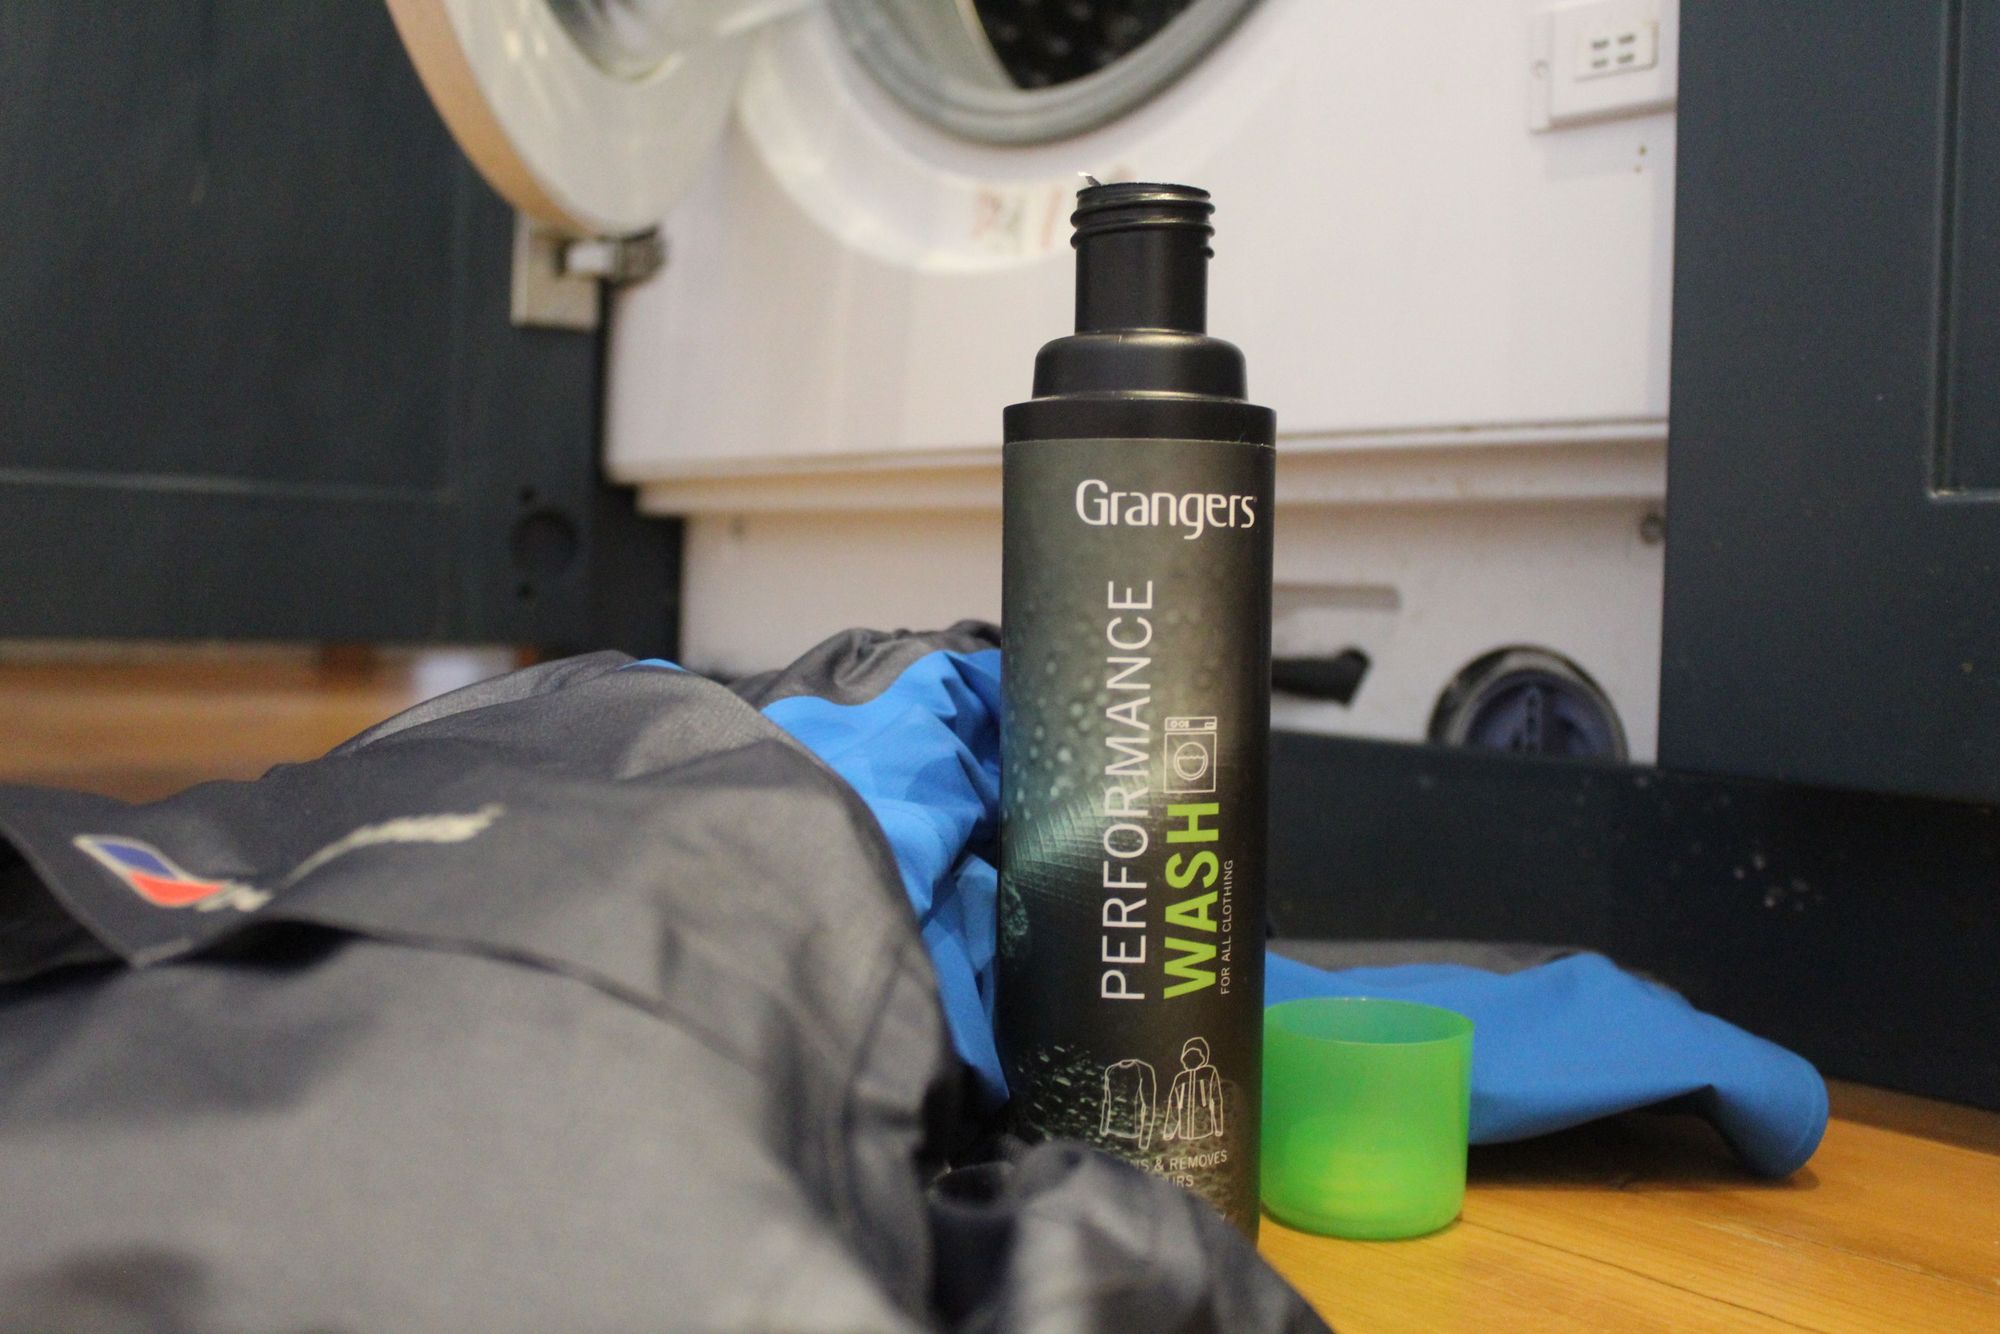
Waterproofing dirty gear is not an efficient way to reproof. The waterproof won't perform as well, and the breathability will also be impacted. Wash your waterproof jacket first using a cloth or a performance wash product (which can be purchased from all the usual suspects). Like with our last jacket, we stuck this into the washing machine with Grangers Performance Wash before proofing. One 50ml cap cleans one jacket on a full cycle at 30°C/86°F.
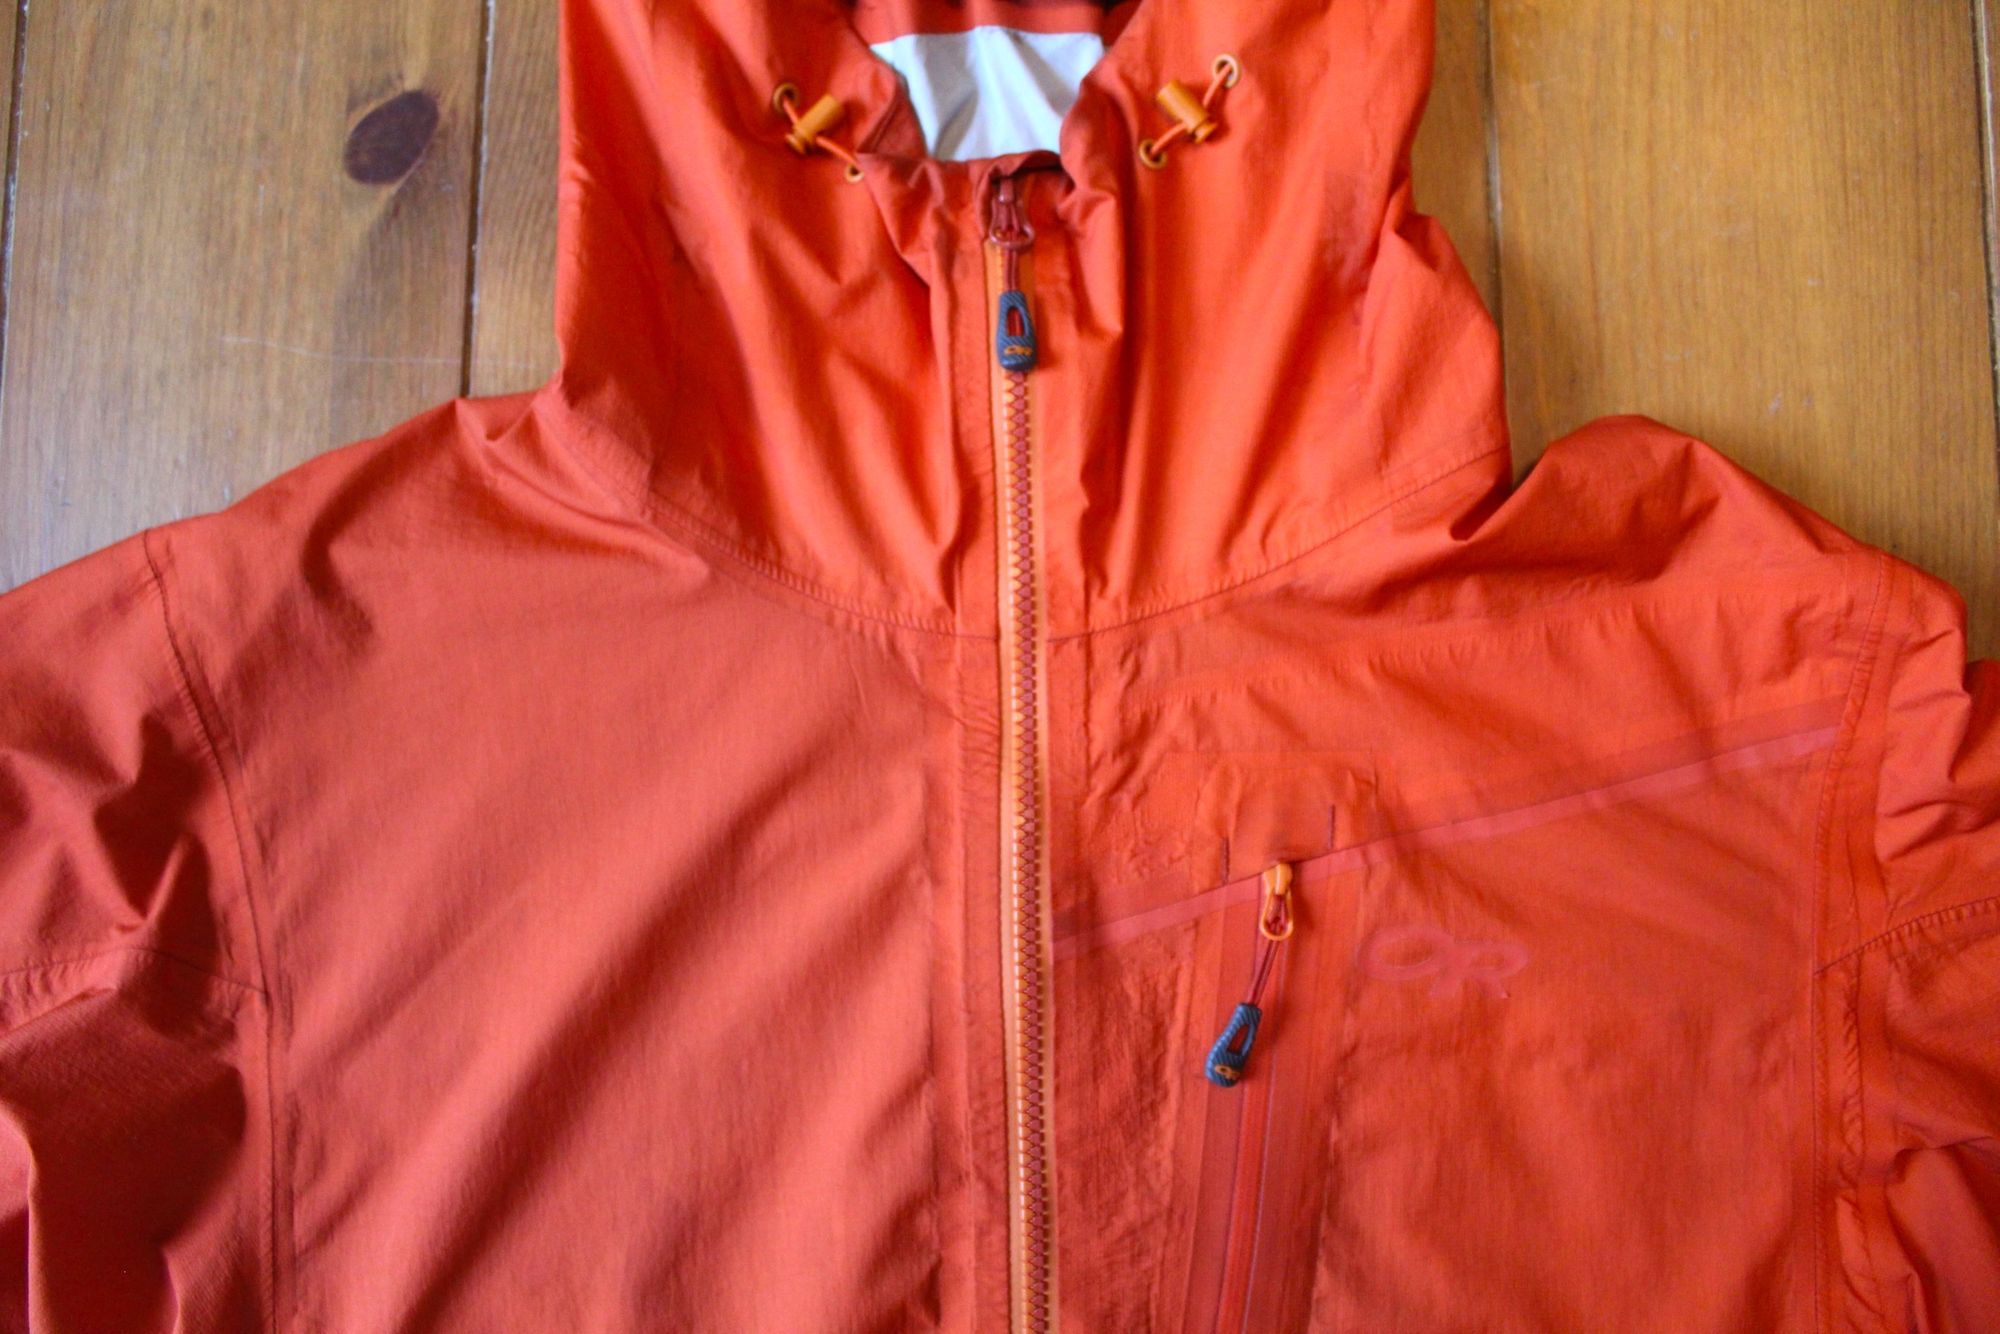
2. Ensure that pockets are empty, zips are done and drawcords are loose
This is simply to stop any fidgety bits on the jacket getting caught in the washing machine - and we all know the feeling of finding an old tissue in a jacket pocket after a wash. It’s not nice. Do not turn your waterproof jacket inside out, as this can disrupt the proofing process.
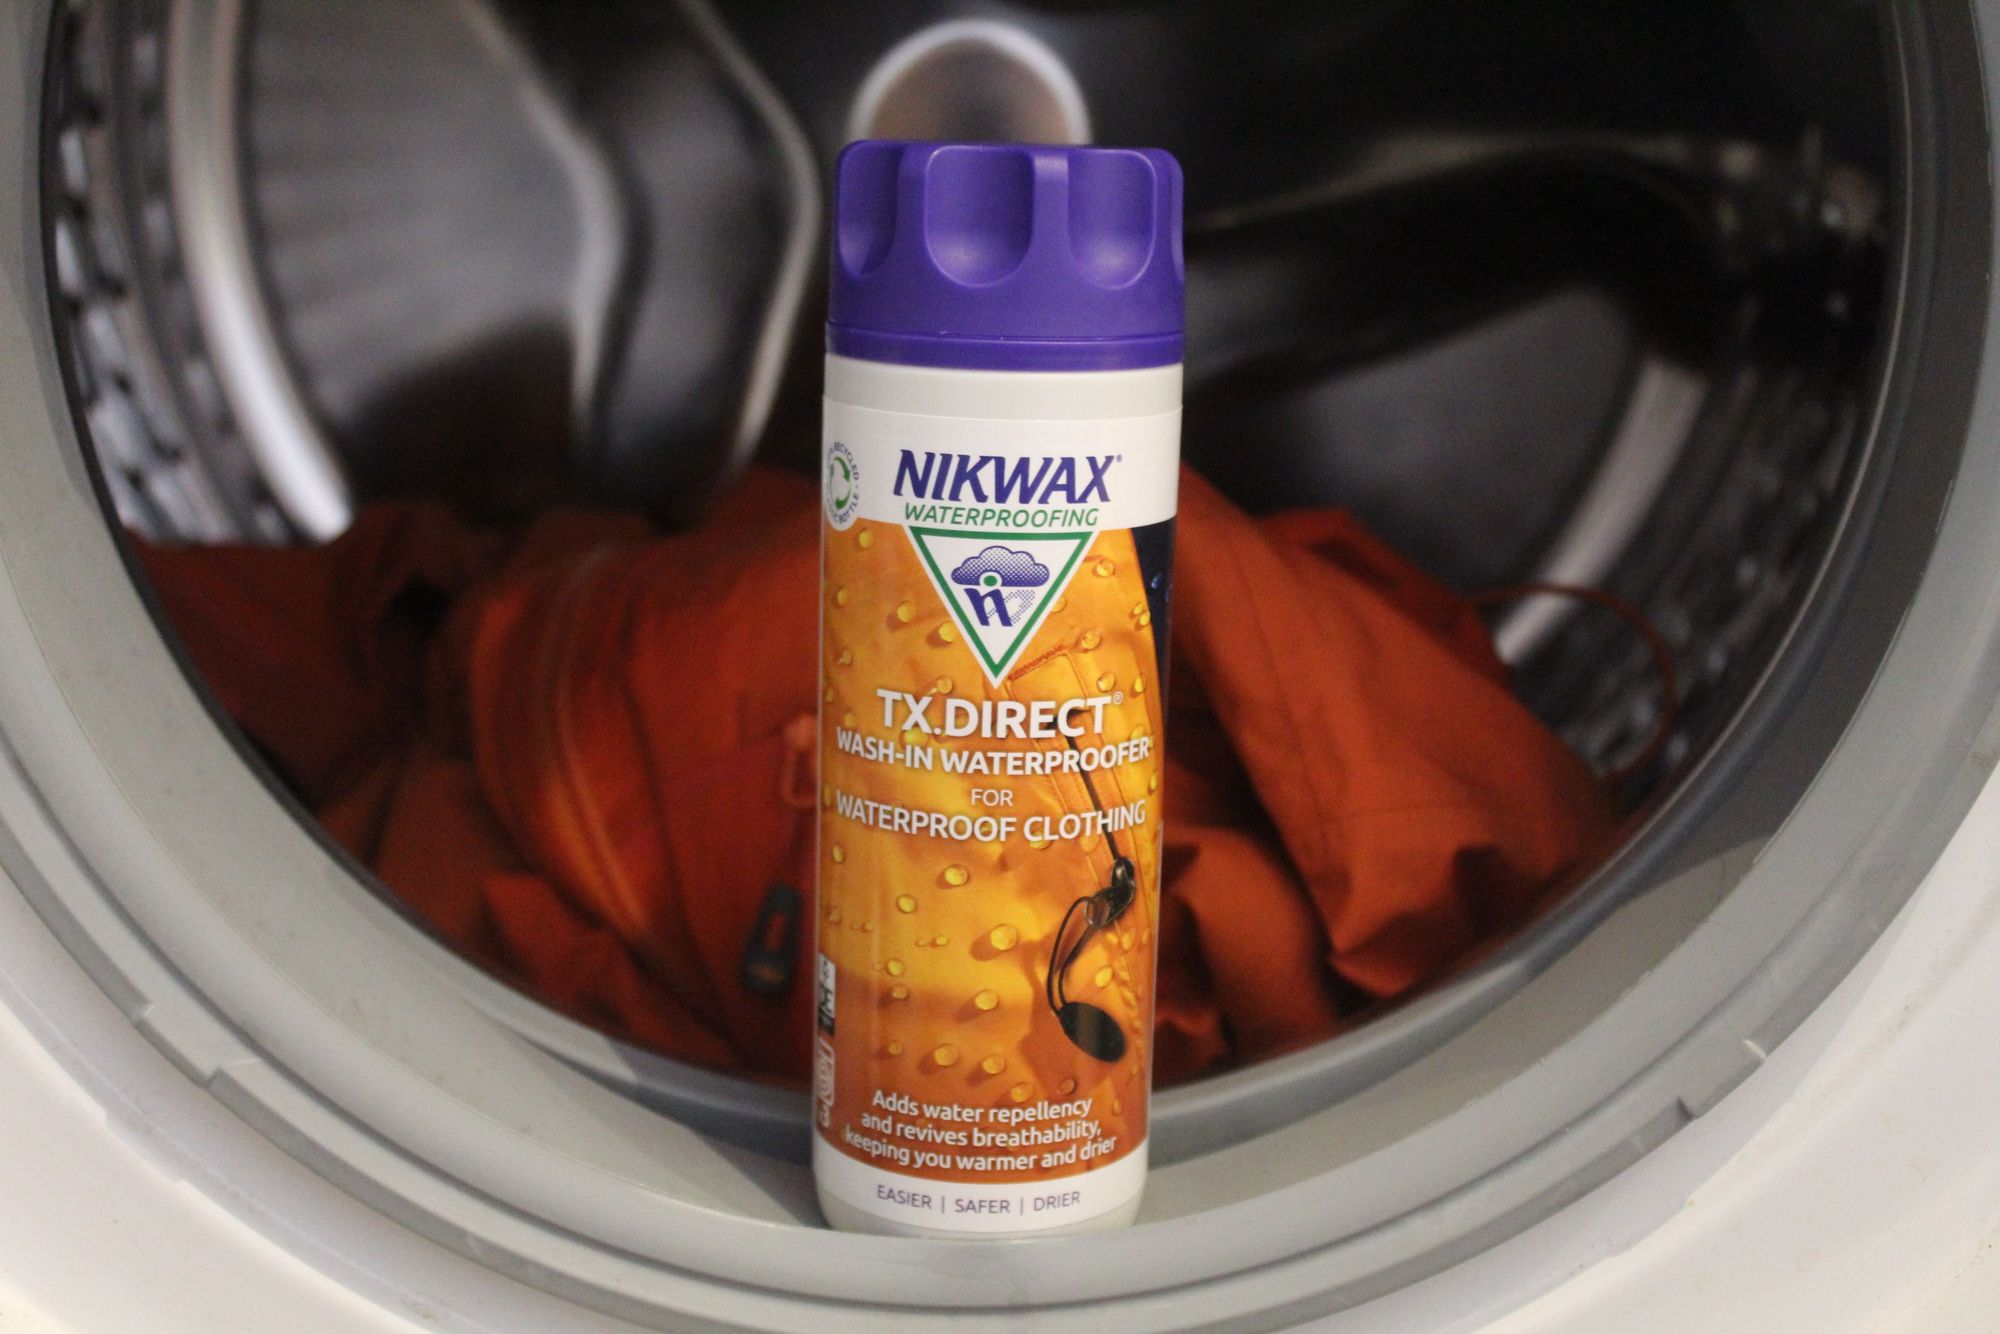
3. Check the instructions of the product, and pour into detergent drawer accordingly
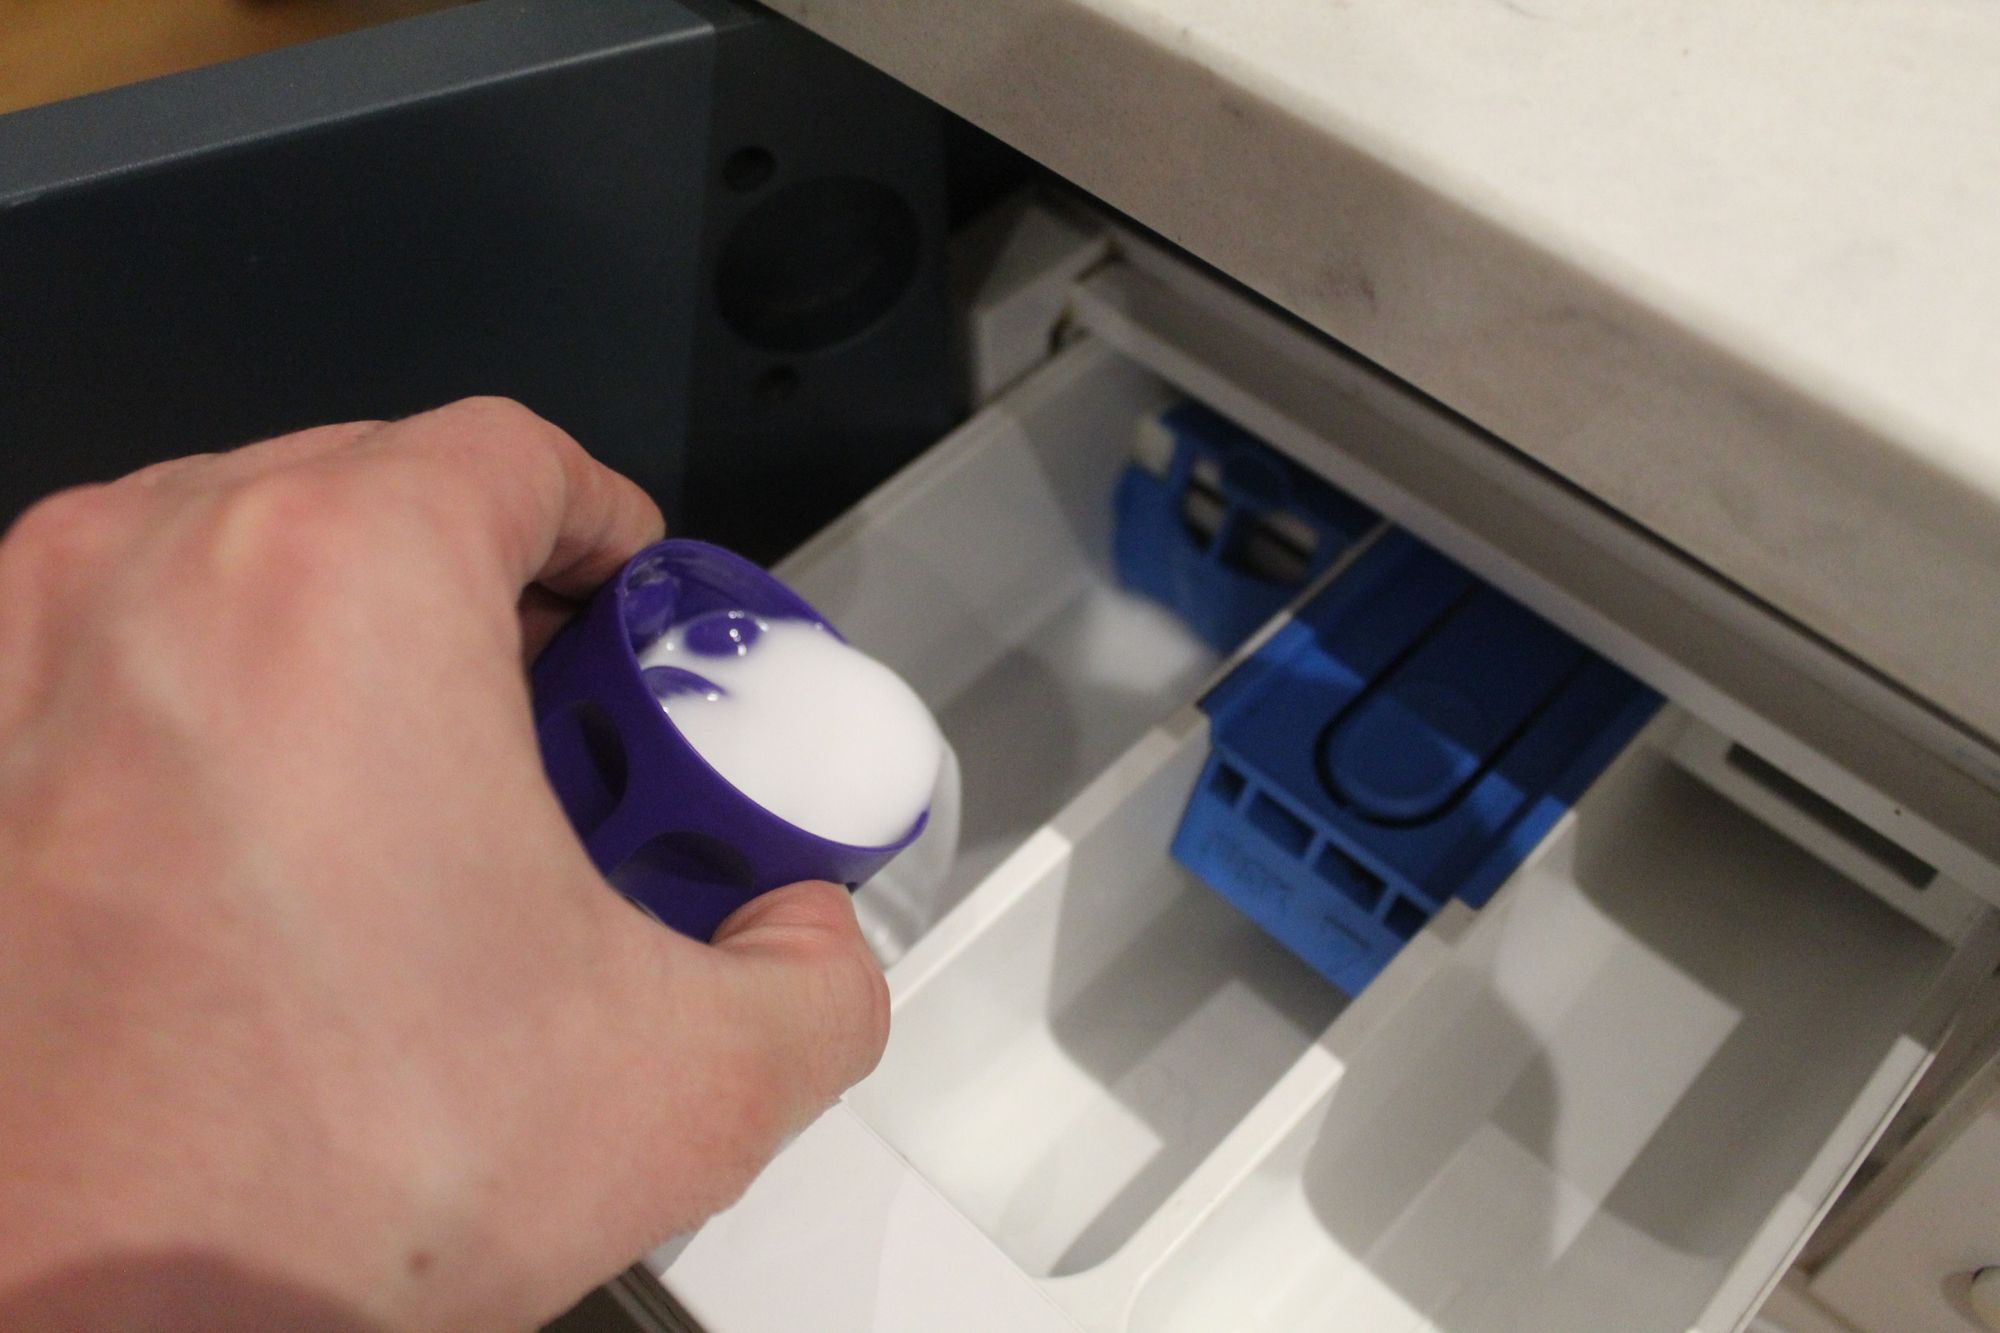
Ensure that there’s no fabric softener or washing detergent in your washing machine before starting your wash. This can impede the proofing process and can even negatively impact your membrane. Then follow the instructions on the back of the wash-in waterproofing treatment.
In this case, we used Nikwax’s TX.Direct wash-in waterproofer, which states to use two full caps of the product (100ml per garment). Pour the product into the detergent drawer of the washing machine. This particular product recommends running a synthetic cycle at 30°C/86°F, then putting the waterproof jacket on a slow spin. Don’t machine wash garments if the taped seams have become dislodged as this can permanently damage the jacket.
4. Turn the wash on!
You don’t have to do much during this bit. Read a book. Call a loved one. Maybe browse our wide range of adventure holidays, which benefit local communities through adventure travel?
5. Leave to drip dry or tumble dry waterproof jacket if fabric allows

If you have a tumble dryer, and it won't ruin your coat (check the labels!) stick the jacket on a medium heat cycle for 15 minutes. The heat can add optimum durability. You can also use a hair dryer, though it’s harder to be sure you’ve covered all areas. Equally, if you're not in a rush, let your waterproof air dry, like you would with any other bit of laundry. Voila! Your waterproof jacket is now reproofed, and water should once again bead on the surface of the outer shell.
How to Reproof a Waterproof Jacket with a Spray: in 5 steps
Here’s our five-step guide to reproofing your waterproof jacket using a durable spray-on waterproofing treatment. Again, it’s an incredibly simple process, but if you do choose this option, you just have to try and make sure you distribute the spray evenly on the jacket.
Waterproofing spray isn’t quite as reliable as the washing machine equivalent, but it can be extremely useful for a quick waterproofing top-on while on the go. It’s generally a lot quicker.
1. Make sure the waterproof jacket is clean
Again, waterproofing dirty gear is not an efficient way to reproof. The waterproof won't perform as well, and the breathability will also be impacted. Wash your waterproof jacket first using a cloth or a performance wash product (which can be purchased from all the usual suspects).
Like with our last jacket, we stuck this waterproof jacket in with Grangers Performance Wash to get it clean. One 50ml cap cleans one jacket on a full cycle at 30°C/86°F.
2. Ensure that pockets are empty, zips are done and drawcords are loose
This time around, this is mainly because it makes it easier to distribute the spray around the waterproof jacket - and ensure you don’t miss any fabric by the zips or pockets which have folded. Do not turn your waterproof jacket inside out, as this can disrupt the proofing process.
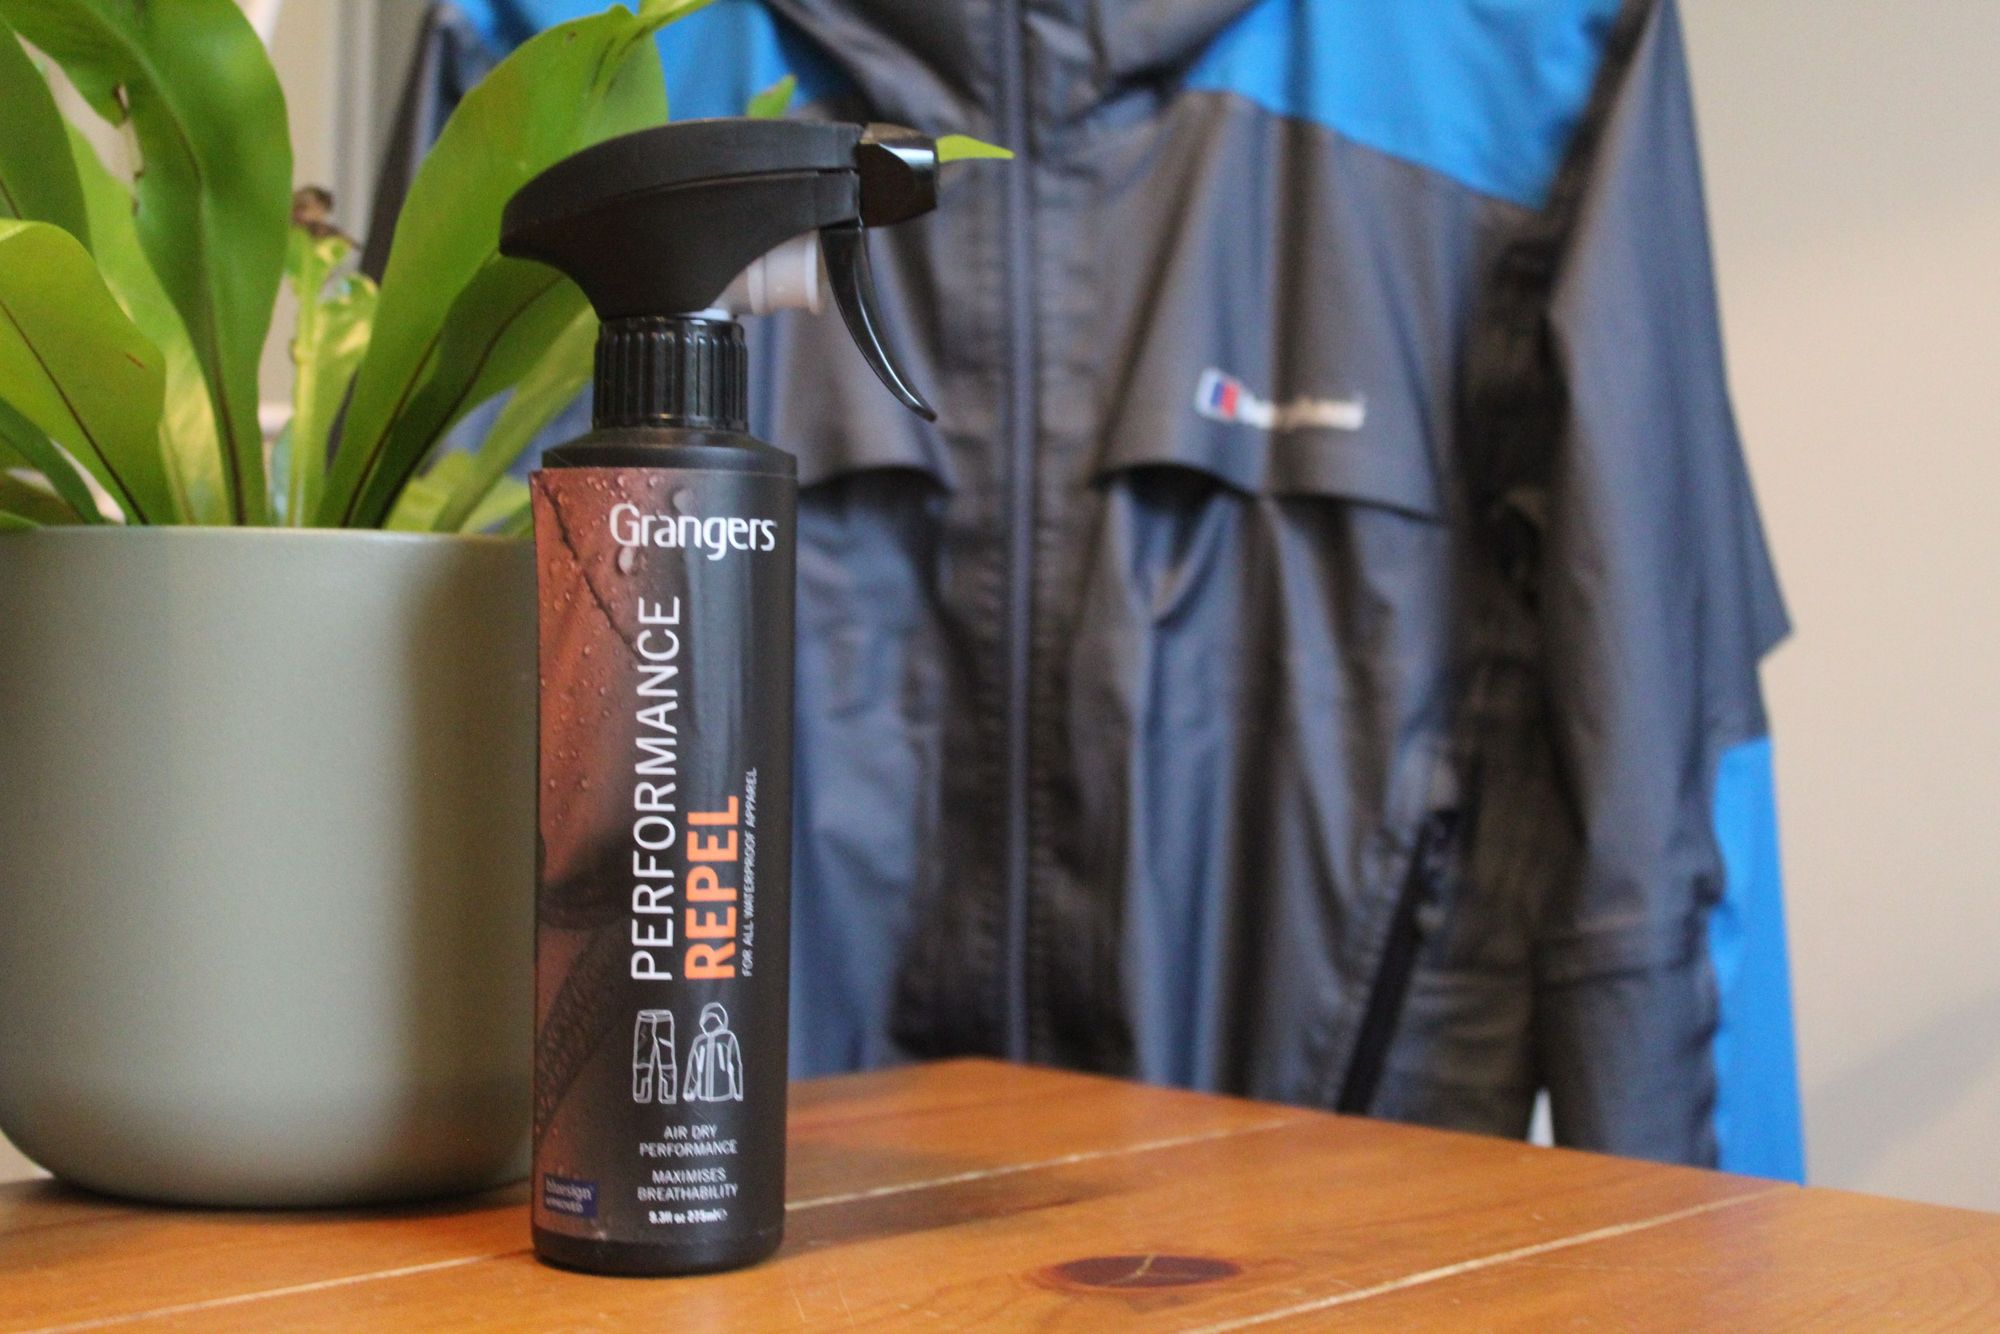
3. Hang your waterproof jacket up and spray it
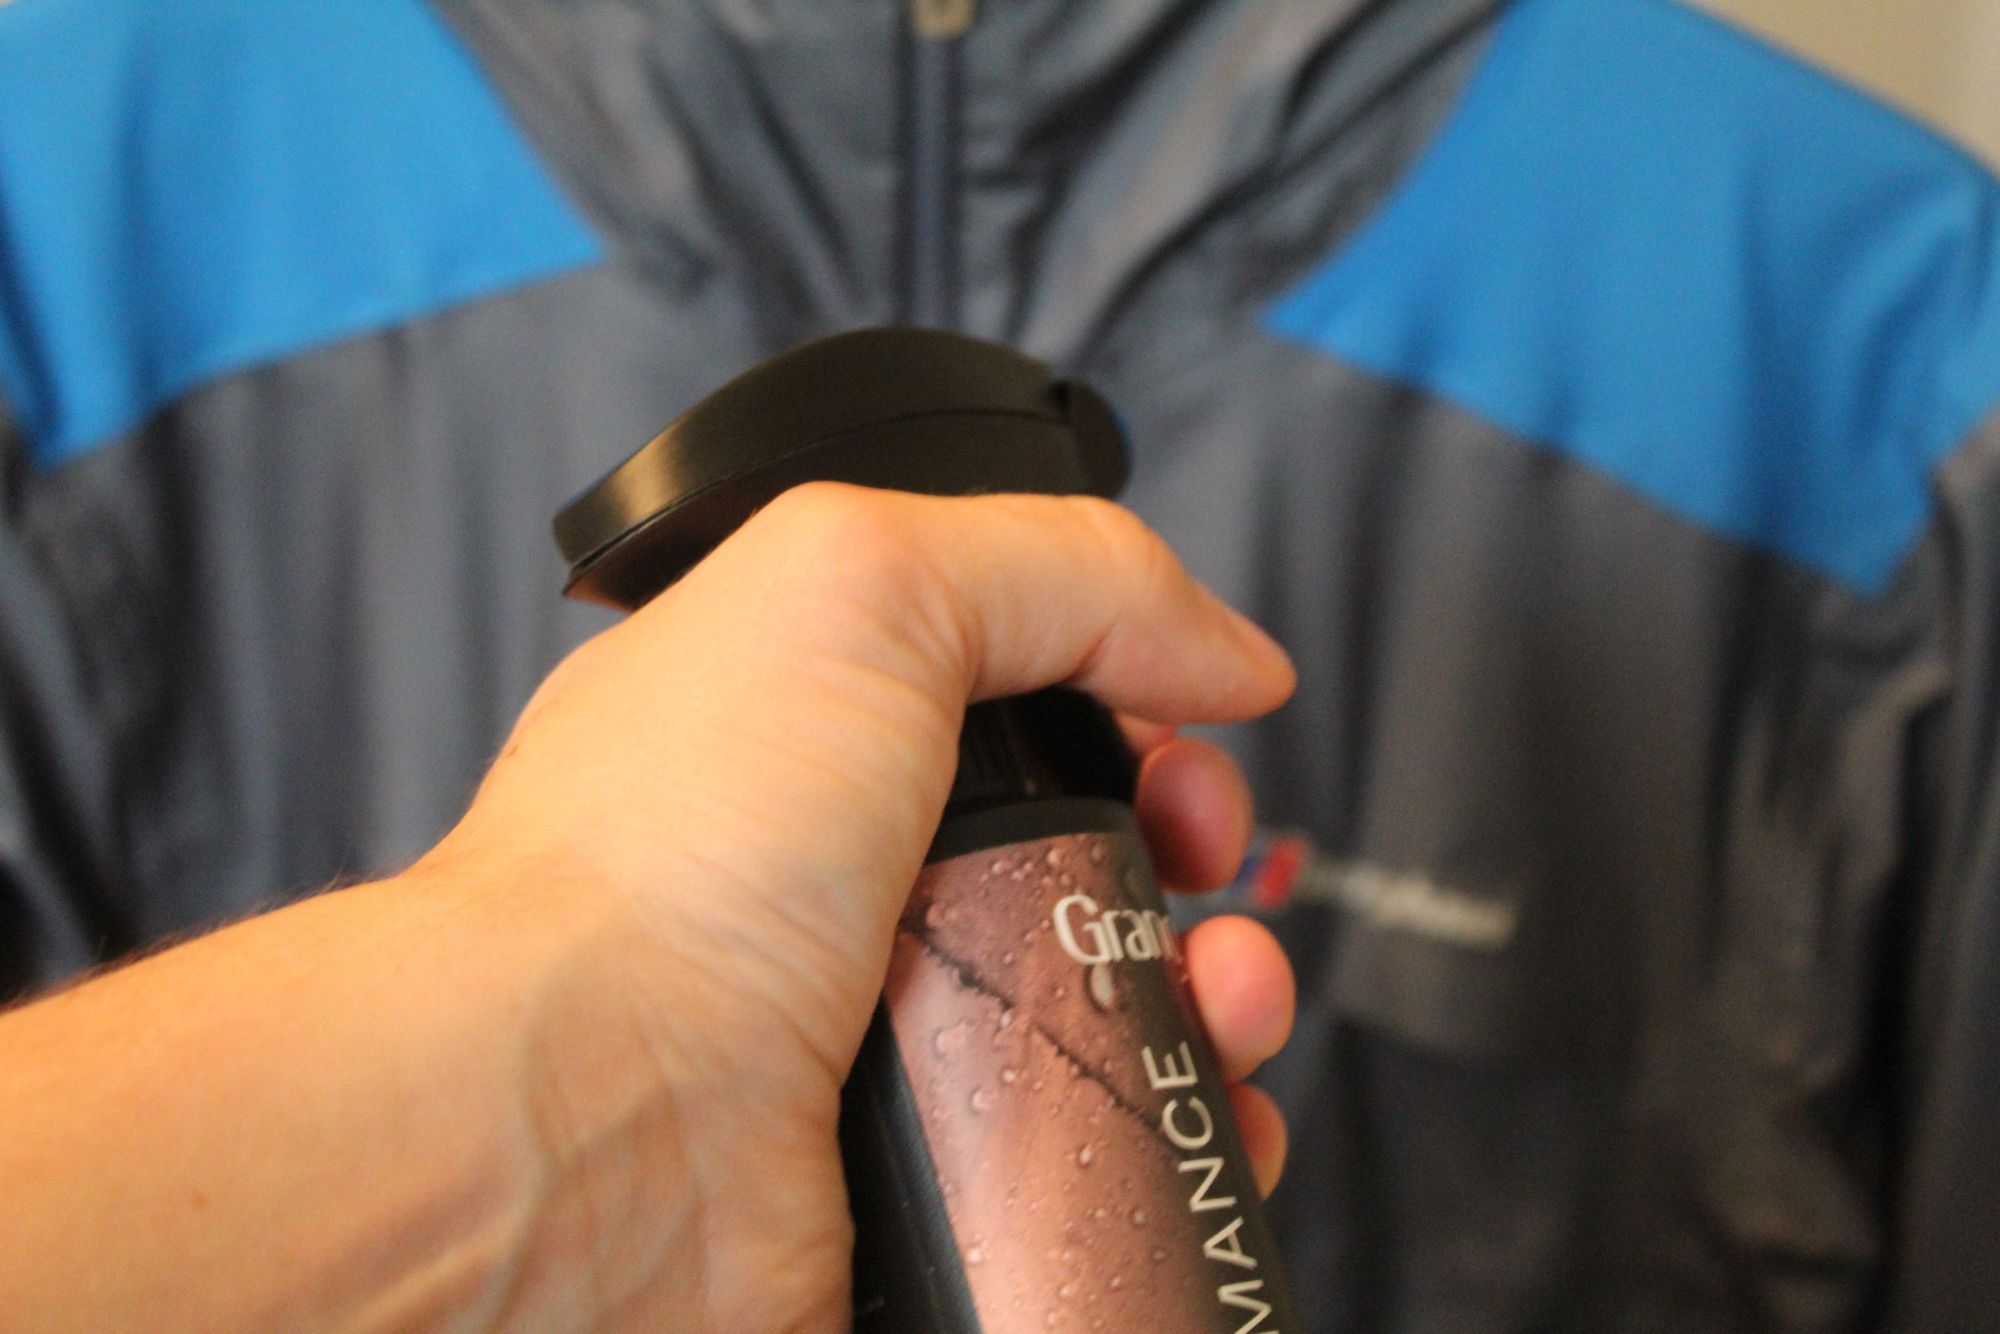
Now spray your jacket, taking care to spray evenly. It’s important that you don’t spray too close to your waterproof jacket. Specific instructions will usually be on the bottle you’re spraying with.
Here, we used Grangers Performance Repel, which states to spray from a distance of 15cm.
4. Wipe away any excess waterproofing spray
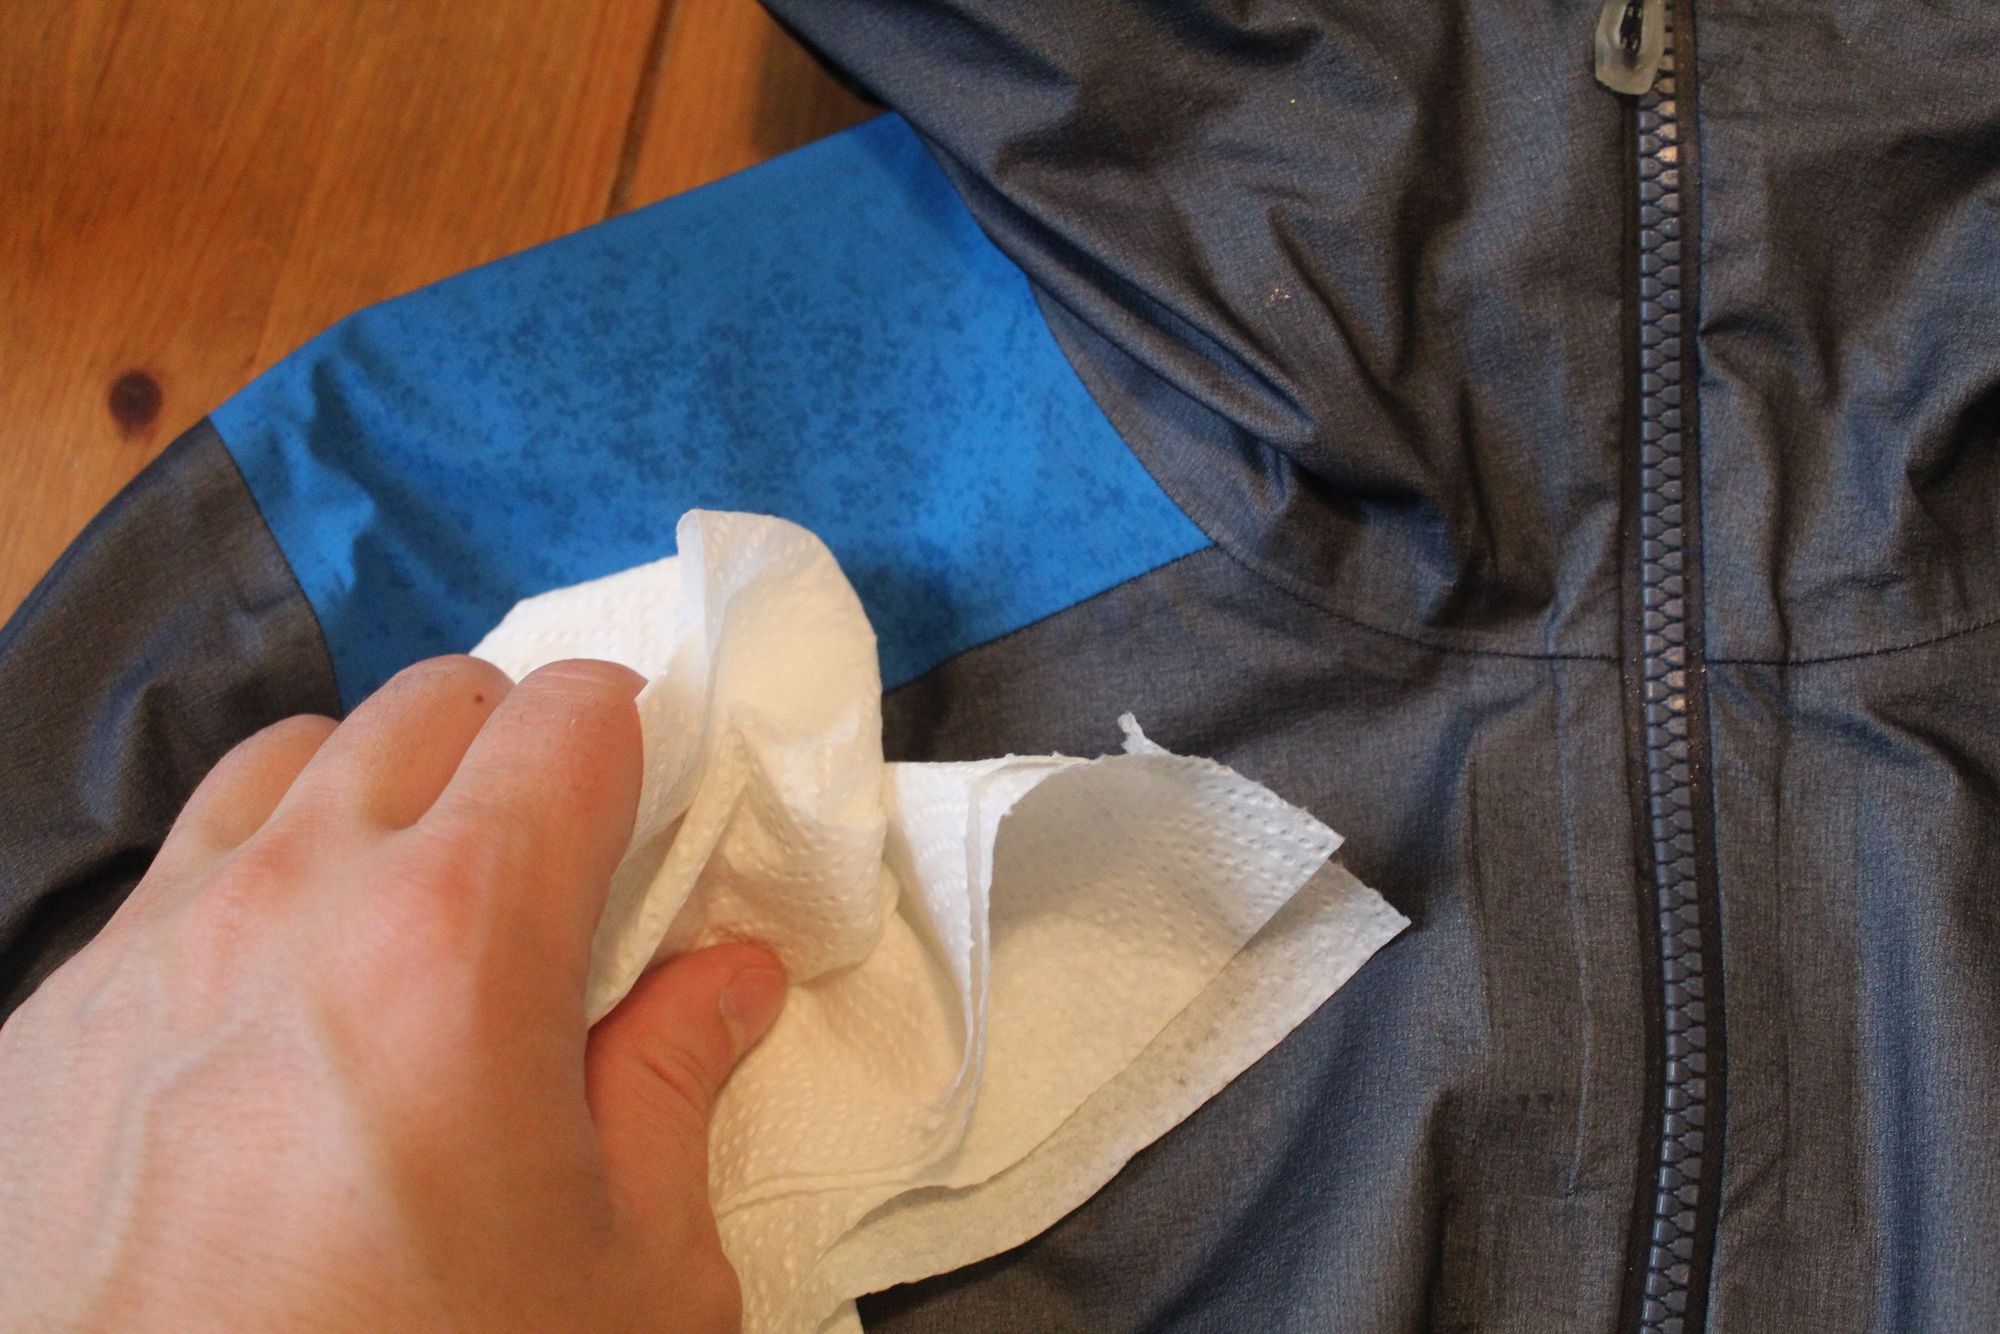
If you overspray, or spray your jacket too closely, just get a damp cloth (or in lieu of one, a damp bit of kitchen roll as above) and wipe some away.
5. Leave to drip dry or tumble dry waterproof jacket if fabric allows
If you have a tumble dryer, and it won't ruin your coat (check the labels!) stick the jacket on a medium heat cycle for 15 minutes. The heat can add optimum durability. You can also use a hair dryer, though it’s harder to be sure you’ve covered all areas. Equally, if you're not in a rush, let your waterproof air dry, like you would with any other bit of laundry. Voila! Your waterproof jacket is now reproofed, and water should once again bead on the surface of the outer shell.
Fancy testing out your waterproofing? Check out our full range of adventure holidays now - we go adventuring in rain or shine!